Removing grout
Tiles last forever but there will come a time as sure as night follows day that you will need to remove the grout in your bathroom or kitchen, the shower is also particularly susceptible to mould growth, if you have an over bath shower or you do not have a modern shower cubicle.
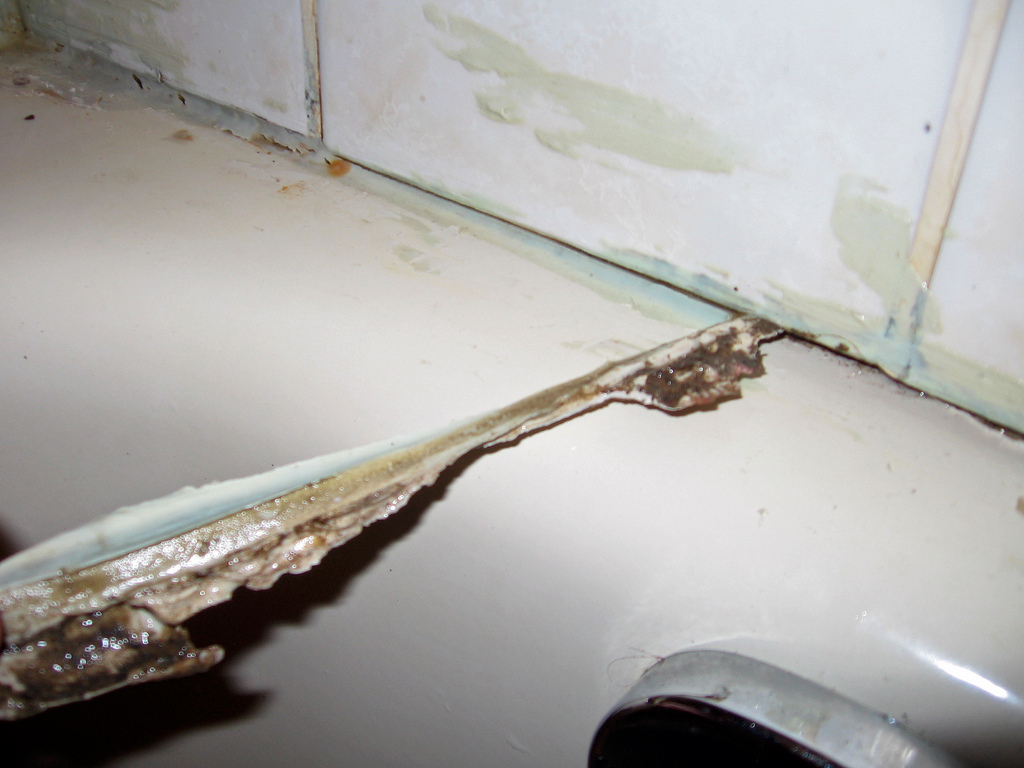
It is a job that most people put off doing, but it really is a simple DIY task and it will transform the look of your wall when this is removed and replaced. If you use the right tools, you can expect to be able to remove nearly every single trace of the old grout. Let’s begin by looking at the tools you will need to remove grout. The first thing to do if the grout is in good condition but badly stained with mould, try first using a strong bleach solution on the grout before resorting to raking out the grout. There are also a number of proprietary solutions that you can spray onto the surface which are known to be effective. If this does not work to your satisfaction then removing the grout and re-grouting is the only way, but first put the plug into the basin or bath, or cover the shower tray. Remember don’t let bits of grout get into the waste pipe and cause a blockage and you will have another job to do! Removing the grout is best achieved using a mechanical tool which can be hired, or you can buy a tungsten tipped tool to rake out the joints. Don’t press too hard on the grout removal tool or you may slip and scratch the tiles. Next you should clean out the joint lines with an old paintbrush and a clean sponge and also wipe a solution of bleach over the area to kill off any mould growth spores. You are now in a position to re-grout the area and it is important that the correct grout is used, waterproof grout is essential for a tiled shower or over bath shower.